
This #NailsOfTheDay is a bit of a throwback. I honestly really don’t do many nail looks much anymore, just because of timing. One of my highschool nail art favs is the crescent moon – reverse french tips. It’s super easy and I think it looks really nice. Here is a mini tutorial of how you can get the look too.
1. Base Colour

First step is to paint your nails a base colour. It’s easiest if you do the lighter colour as the base (which will end up being the crescent moon). I also find that a lighter colour on the crescent usually looks best too, but you do you! Wait for your nails to fully dry.
I used the Mary Kay nail polish in New Blue.
2. Apply binder reinforcers and paint nails with main colour
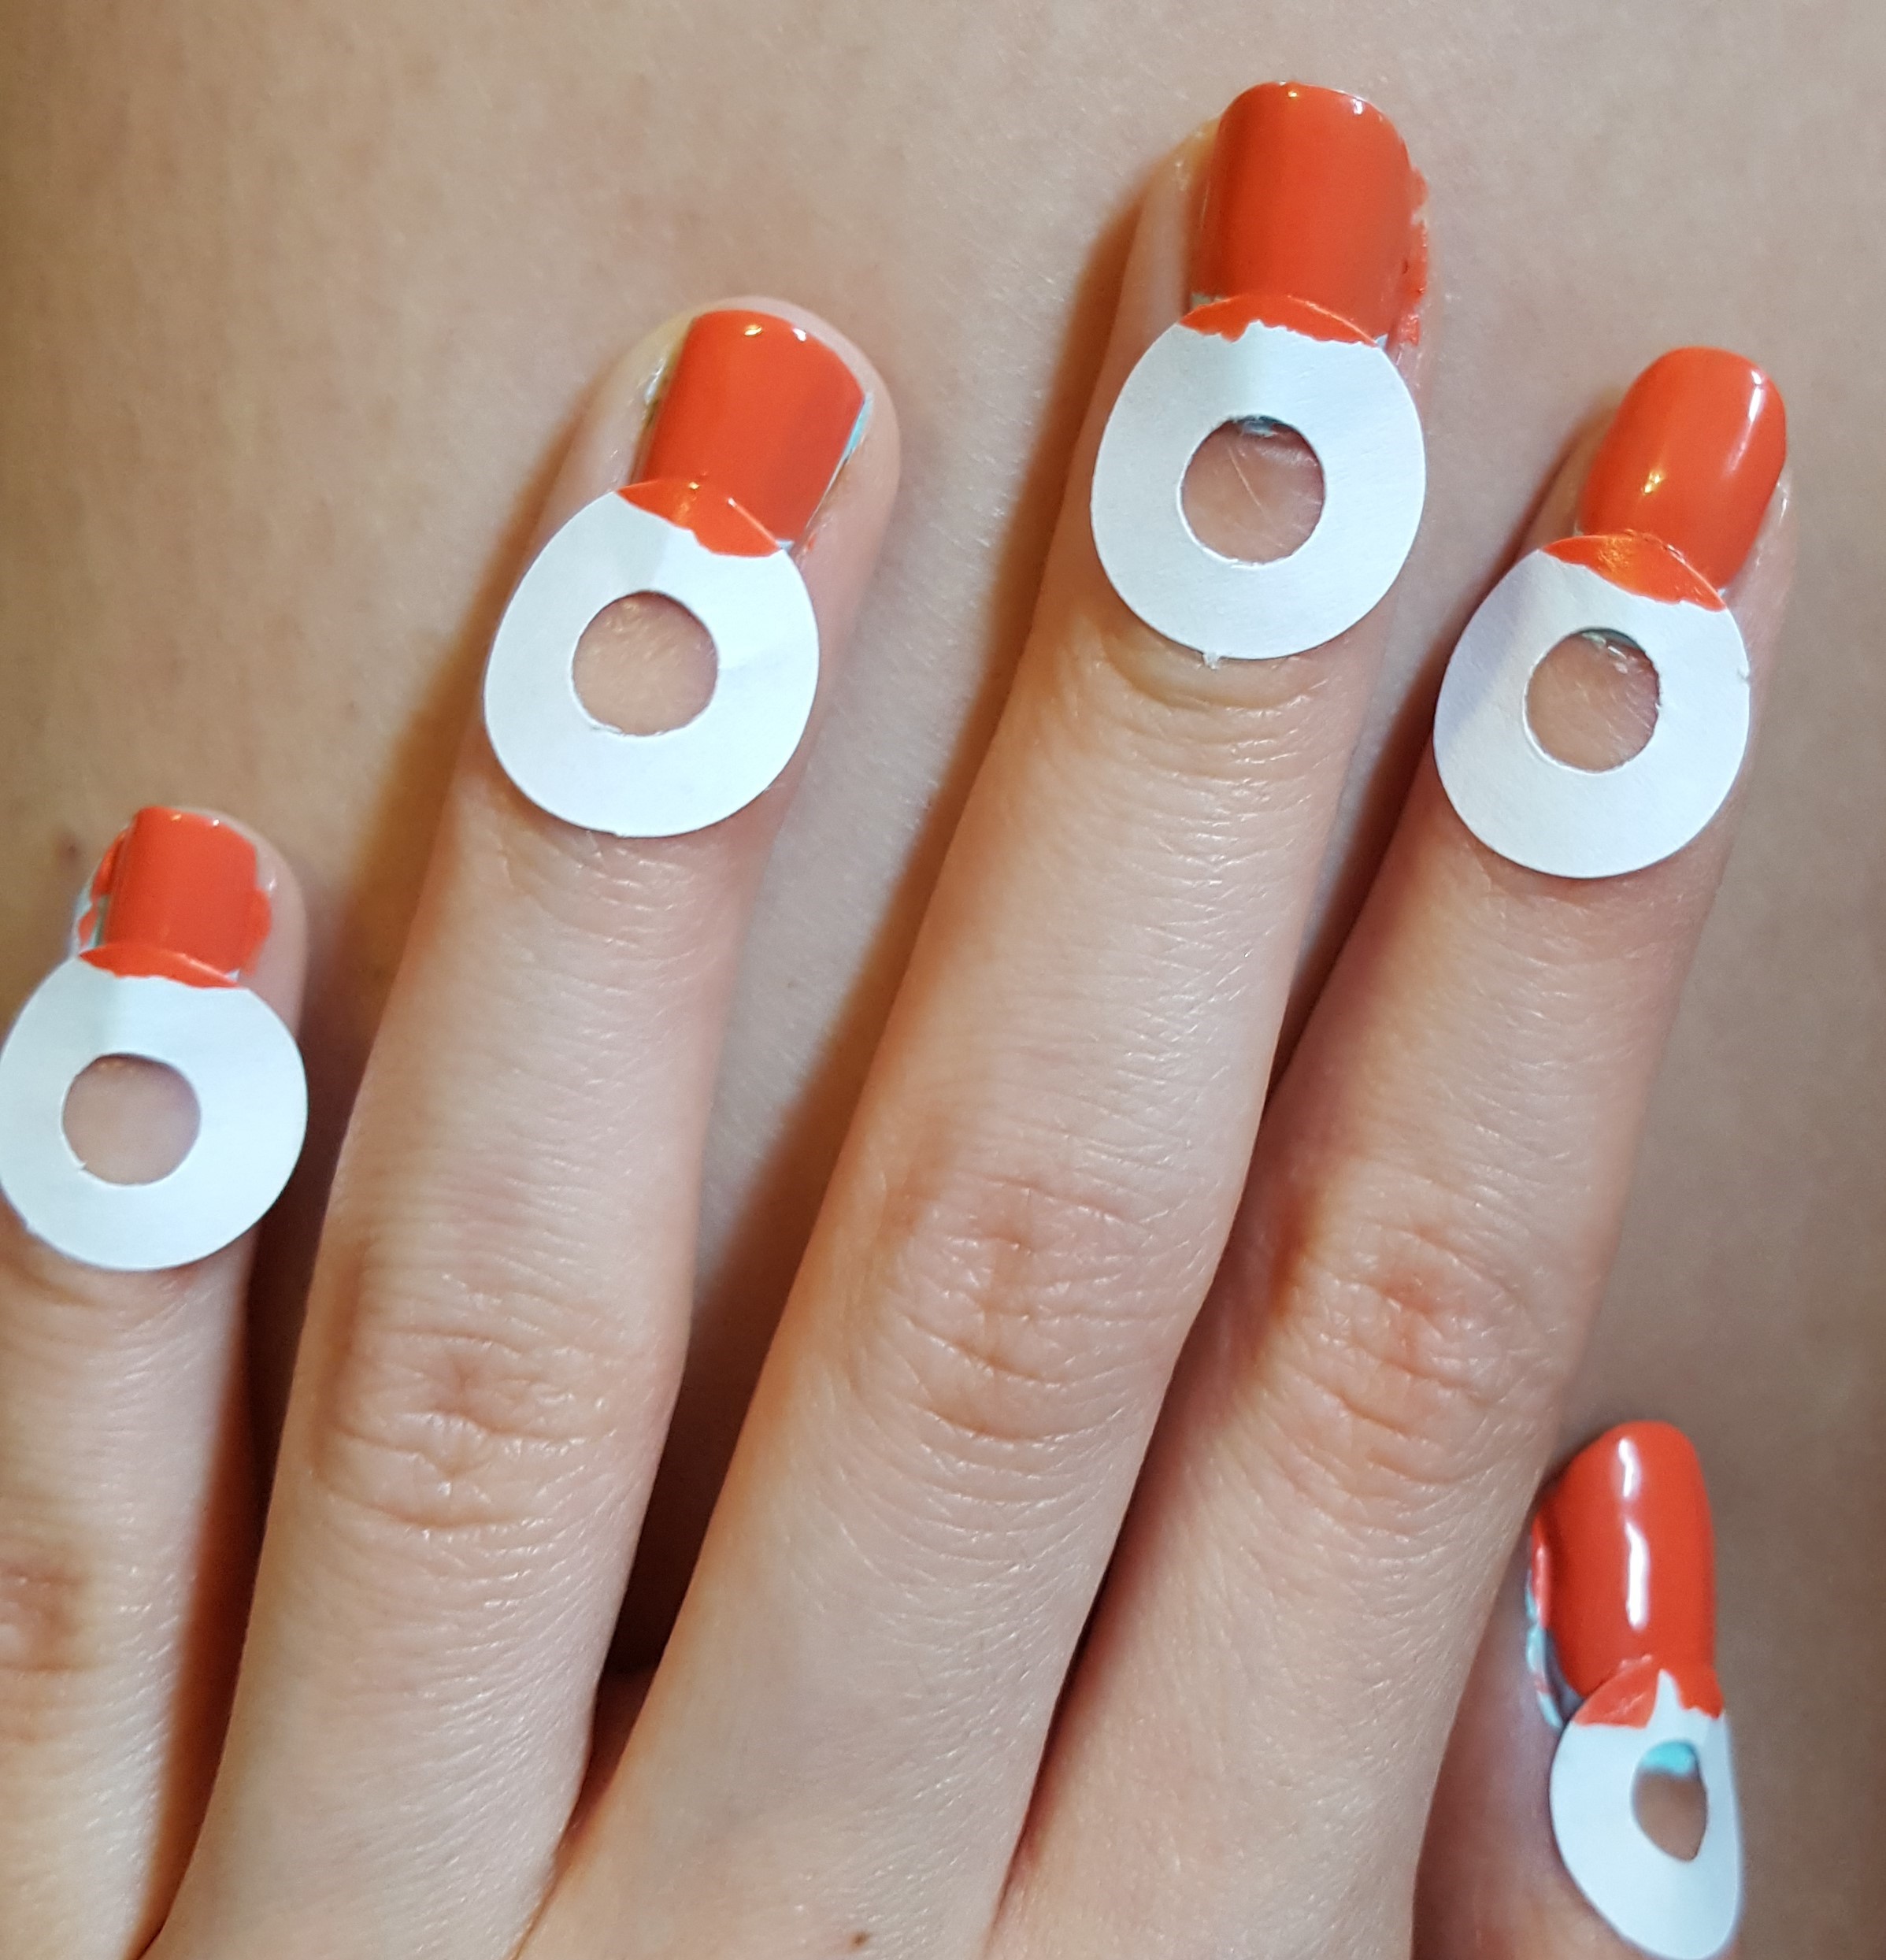
One of the reasons I did this look so much in high school was that I had a huge collection of binder reinforcers. For those that don’t know, binder reinforcers are little stickers you put on the hole of binder paper if you end up ripping it. Do kids still use these nowadays? Haha. I cracked into my collection for this nail look. You can get binder reinforcers at any stationary or business store which I think makes it pretty accessible compared to a specific nail stencil.
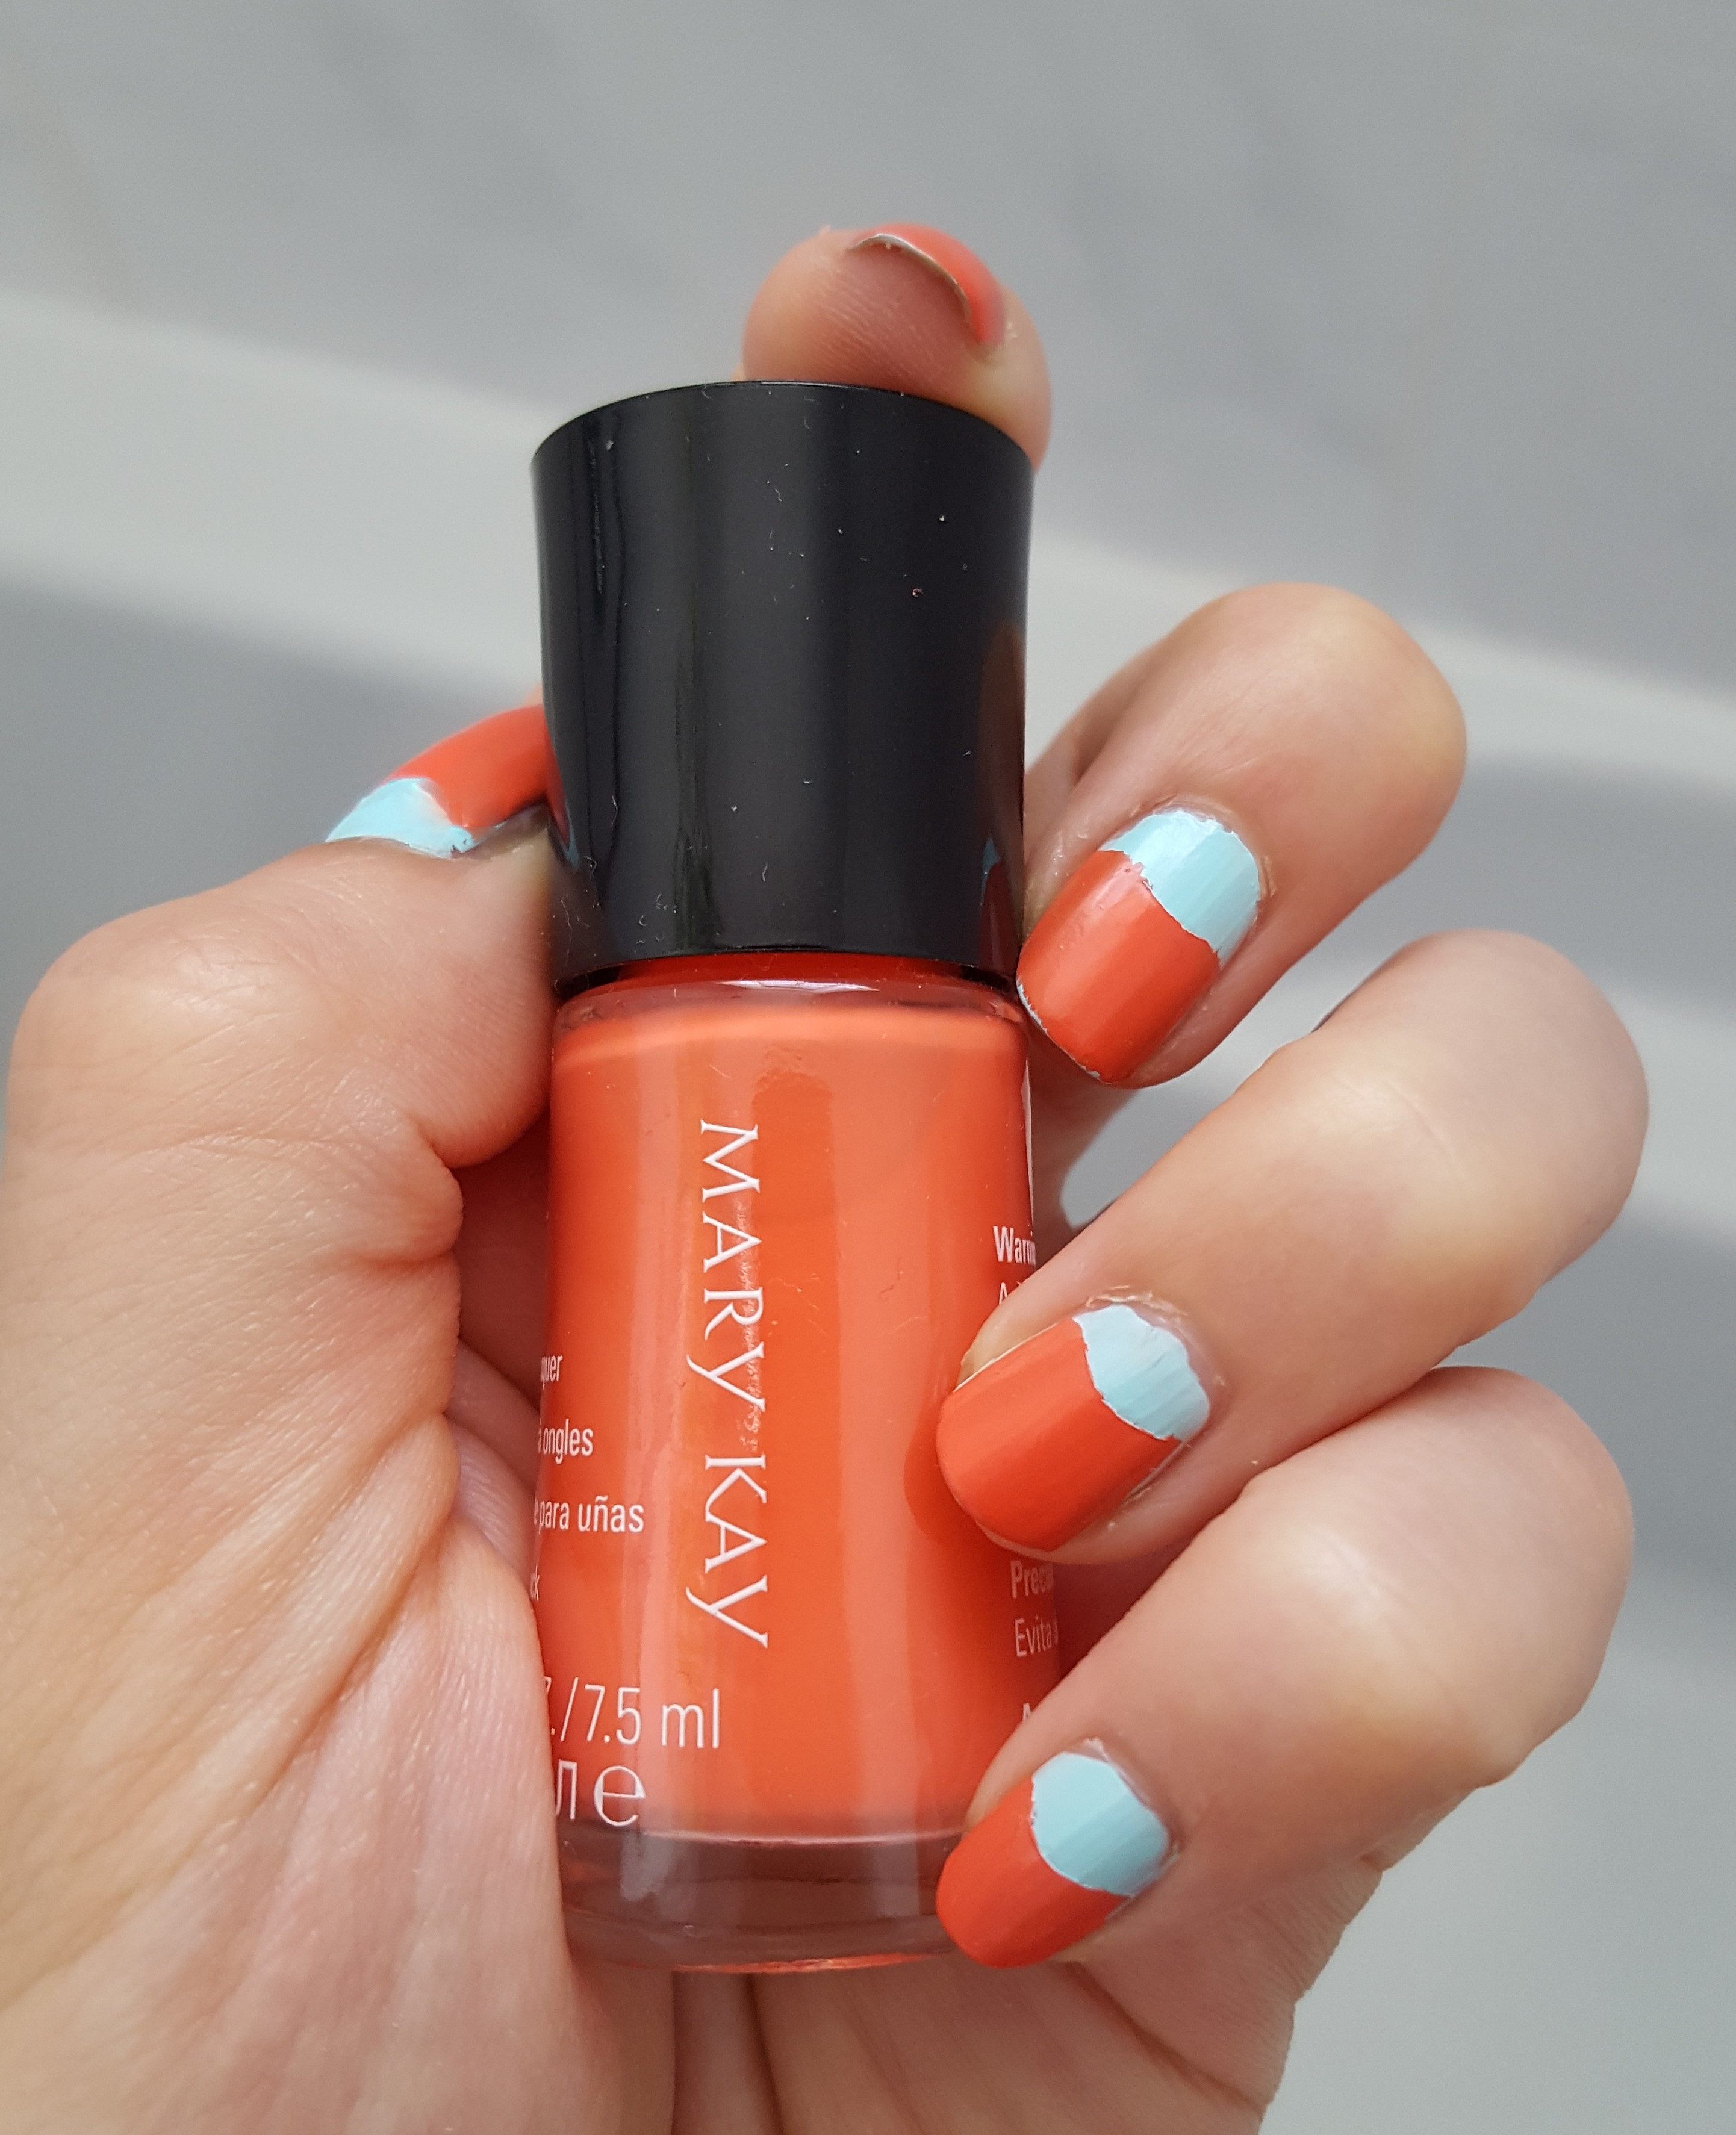
For the main colour I used Mary Kay’s Vivid Sunburst.
And there we have it! Easy peasy! Just wait until your nails polish is fully dry for both steps. Once you have your main colour on, carefully peel off the binder reinforcers and you have your crescent moons! Clean up around the edges and you’re good to go!
For this look I used some beautiful Mary Kay nail polishes. Let me just say they are fantastic! Literally 1 coat is opaque. The colours are vibrant, creamy, and easy to apply. I would highly recommend!
Thanks so much for reading! Have a great day!
*Sent for Review