Review: Vichy Idealia Skin Sleep Repair Night Gel-Balm

*Sent for Review

Hello! πŸ™‚

So I was lucky enough to get chosen for the latest Vichy ChickAdvisor Product Review Club offering. I was a bit skeptical of the claims and unsure that it would really make a difference. If you’ve been perusing my blog for awhile, you might have picked up that I really don’t have a skin care routine whatsoever. I have even LESS of a night time skin care routine. So you might be able to see my hesitation with this product. I’ve been using it for about a week and a half, so I feel that I have been able to form an opinion on it!

Even with all of this taken into account, I was pleasantly surprised! A skin care newb like me was able to find a product that works!

Overview:

I noticed a difference in how my skin felt and looked! Definitely impressed!

Price:

This was given to me by the ChickAdvisor Product Review Club but the retail price is $52.00 CAD

Rating:

9  / 10

Would I Buy Again?

Yes!

Rambling Review

As a note before we begin, there was also a serum included with this review package. I DID NOT use this in combination with the serum just because I didn’t think that was really fair to do. So I’m reviewing this product as is, without the serum.

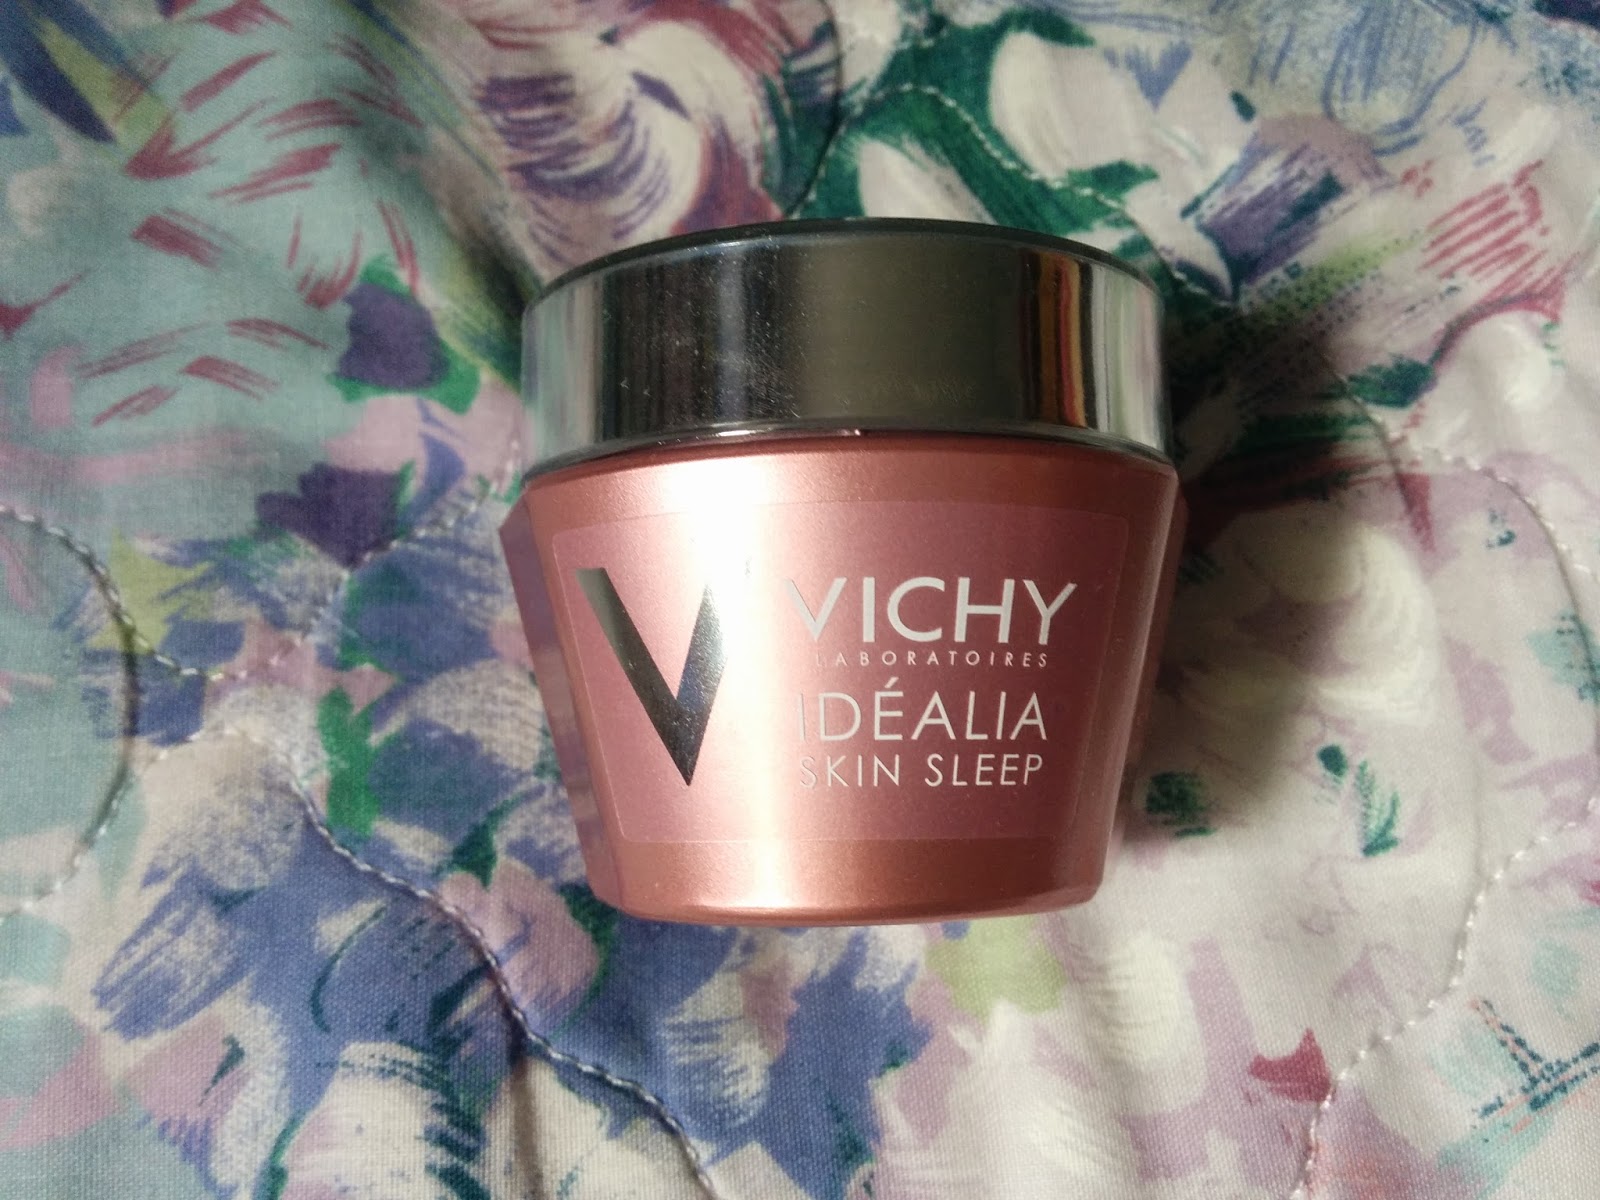
As I mentioned in the intro, I was pretty skeptical about this product. Here are the claims from an ad I found in my LOU LOU magazine just because I had trouble finding this online:

Idealia Skin Sleep, enriched with a powerful multiactive complex [GLYCYRRHIZIC ACID- HYALURONIC ACID- LHA], helps recreate the effects of regenerative sleep on skin. Skin looks visibly revitalized, well-rested, fresh and radiant, as it is after a good night’s sleep-even if yours was cut short.

Pretty vague claims. For this product it is recommended that you apply it to clean skin before bed, which I did.

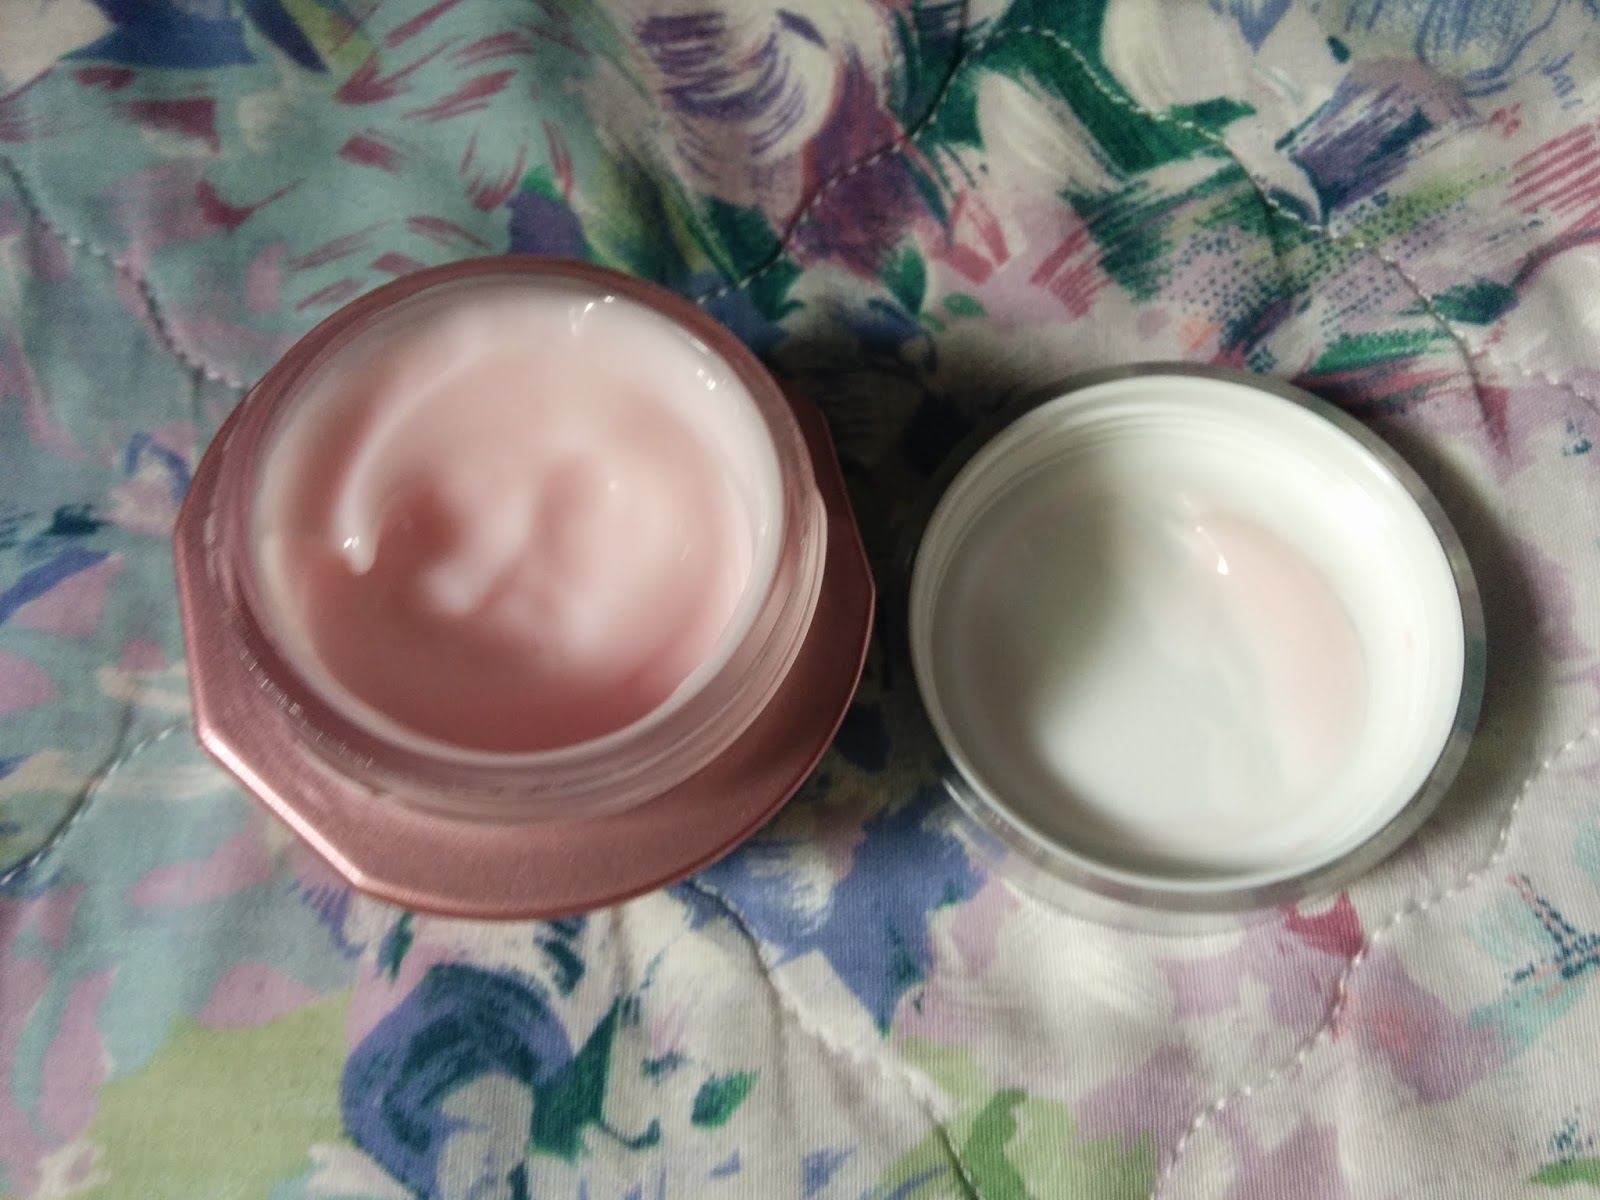
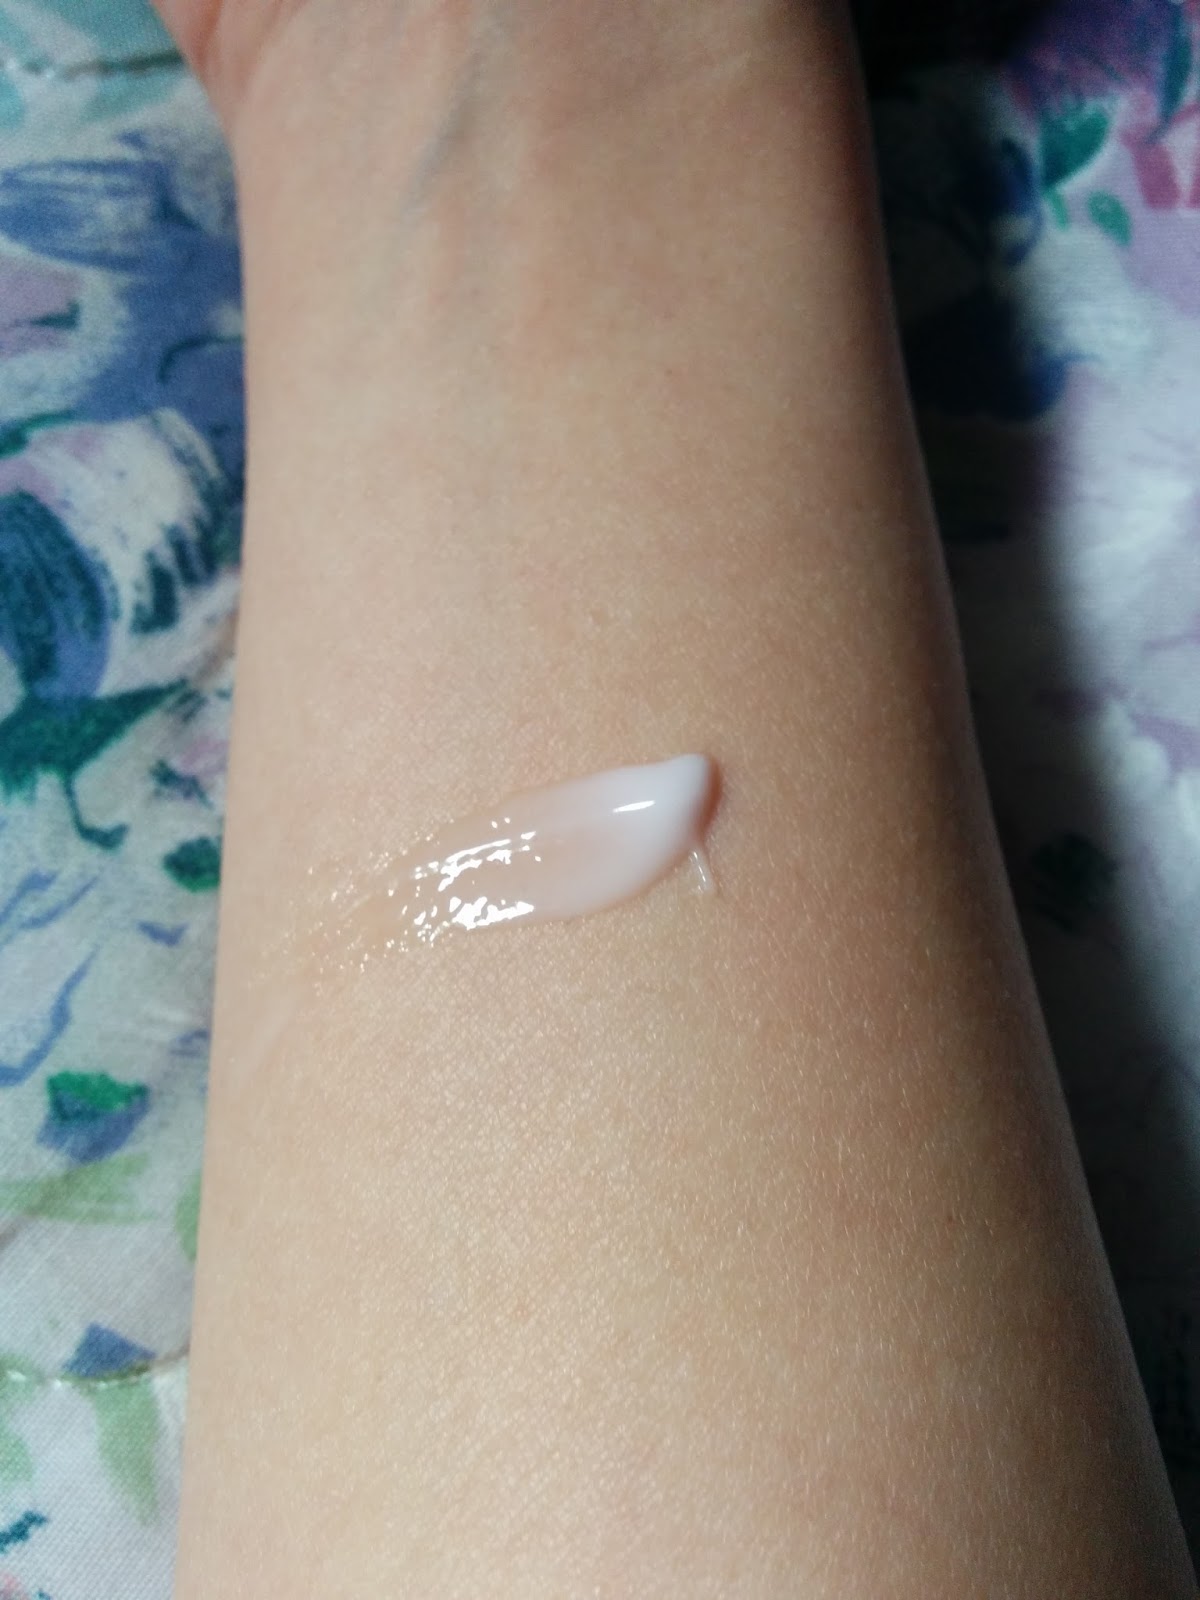
This is definitely a lighter gel cream (as the name would suggest) which I like. It went on smooth and even. Scent wise I thought it was pretty light and amicable. I noticed a bit of an alcohol tinge to it, but nothing very noticeable. After I applied it, I didn’t go to bed right away just to see the consistency. It sunk into the skin, but it was definitely still a little tacky. Not that big of a deal since it’s a night cream!

After waking up, I noticed my skin was moisturized and refreshed. I have the craziest dark circles and I didn’t notice much of a difference. I wasn’t really expecting much though, and it still moisturized my undereye area perfectly.

I would say that my skin is definitely not mature (yet!), and the fact I noticed a difference surprised me. I thought this cream wouldn’t really make a difference just because my skin is decently even and tight. The brightness and moisturized feeling was great to wake up to.

Price-wise, this definitely isn’t super cheap, but I think very fair. It is 50 mL which I know will last me forever. All in all I am very happy with this product. I’ve started an actual night routine which I’m happy about.

And there we have it! Thanks again for reading and hope this was helpful! Have a wonderful day!

Follow on Bloglovin

Continue Reading

Makeup Geek Eyeshadows: Overview and Swatches

Thanks to Chelle from Makeup Your Mind and a multitude of other glowing and positive reviews, I decided to make my first Makeup Geek order.

My friend and I spent a good hour or so combing through the site deciding which shadows to get. There are a huge array from mattes to the ever coveted foiled ones. She stuck to more neutrals, while I wanted to be a bit more adventurous. I chose to pick shades that I had nothing like in my collection. I’m definitely glad I did. Here are the ones I decided upon.

1. Peacock

This is the only shade that I don’t love out of the ones I got. I find it a bit chalky (see swatch below). I don’t think I would use this as a liner, but I definitely think I could use it in the crease or outer corner.

2. Pegasus

When I was browsing the site, I instantly went to this shade. Isn’t it just stunning?! This is one of my favourite colours of all time. I was worried that it wouldn’t be wearable but I was able to make a look with it. I just can’t stop staring at it! Even when my boyfriend saw the shadows I got, he mentioned that he really liked the colour of this one!

3. Drama Queen

A dark purple with a bit of shimmer. I love this shade, but something I noticed was that it was a lot more brown than I expected compared to purple. I don’t really mind though, as it’s super pretty.

4. Sensuous

This is a lighter purple shade compared to Drama Queen with some shimmer. I love this one! Very pretty. I’ve used it in the crease, but I can see this as a lid colour too. Why not?

5. Flamethrower

I knew I wanted this one from the beginning. I saw it on Chelle’s post and knew I just had to have it. I was very worried it might be too orange, but it’s definitely not. The brown shines through, which makes it super wearable in my opinion. I’m wearing it today and am very happy with it!

I’m so happy I took the plunge with these. Here are a few more shots of them in my Z Palette and the swatches.

Peacock – Pegasus – Drama Queen – Sensuous – Flamethrower

Here are some quick facts about my order and the shadows which might be helpful to know:

  • All prices are in USD ($5.99 for the regular shadows and $9.99 for the foiled ones)
  • Shipping was around $8 (my friend and I spent about $150 on our order)
  • Not duty or taxes were charged on our order
  • It took around a week and a half for us to get our order
  • These stuck fine in my Z Palette but my friend has a MAC palette and it DID NOT just stick in. She had to add a piece of magnetic tape to the back of the pans for it to stick
  • The order came with a cute personalized card which thanked us for our order. Very nice touch.

All in all, I would definitely make another order from Makeup Geek. I really regret not getting more foiled eyeshadows. The formula is just incredible. Not that I’ve tried a huge huge amount of shadows, but they were different to the touch than anything I’ve tried.

Have you jumped on the Makeup Geek train yet? Any shades I should check out for next time? Which are your favourites from what I got?

Thanks for reading! Hope you have a wonderful day!

Follow on Bloglovin

Continue Reading

Giving My Brushes a Bath + First Impressions of the Brush Egg

*Purchased

Hello!

So after a good month or two (gross I know, but am I alone?!) I got myself together and gave my brushes a cleanse.

I recently ordered myself a Brush Egg and thought this would be a good time to try it out. I’ve been thinking about buying a brush cleaner tool thing for awhile but the only ones I had seen were the Sigma ones which seem INSANELY priced. I guess when you have a name that people are behind you can do that? I don’t know.

This one was much more affordable at around $15 CAD give or take with tax and shipping.

The Brush Egg is essentially a hollow, hard silicon, dome shaped device with rivets to clean your brushes. The reason it’s hollow is to put your fingers in but I actually found that very uncomfortable. I would consider my fingers quite narrow too. Instead I held it in my hand and it worked just as well.

I used the line rivets for bigger brushes and then the dotted rivets for smaller brushes. I really liked using this. I don’t know if anyone else is like this, but I don’t like the feeling of the brushes pressing in my hand when cleaning them. I guess I could have used a plate or something. This completely eliminates this and also I found got my brushes cleaner faster.

In the instructions it recommend putting the cleaner on the actual Brush Egg, but I preferred to put the cleanser on a plate and then dip my brush in. I found this really helped get a deep clean. What I really enjoyed was the fact that it got the suds out the brushes really quickly. In the past I found that was the longest part, trying to remove all the excess soap.

All in all, I was quite impressed with my brush cleaning experience with the Brush Egg. I’m really glad that I bought it! I know if you want to be a super saver, you could probably find a piece of riveted plastic which would do the same job. I like the fact that this is small and compact to just throw in my makeup drawer.

The only thing I want to note is that I had no success with cleaning my beauty blender with this. I found my old way of cleaning it by using my hands to work much better as the rivets didn’t help much.

Am I the only one that never cleans my brushes? I actually have a spot cleanser but I’m always to lazy to use it.

And there we have it! πŸ˜€ Hope you are having a great day!

Follow on Bloglovin

Continue Reading

Review: Nair Cire Divine Wax

*Sent for Review

Overview:

Was not effective at removing my unwanted hair.

Price:

This was given to me by the ChickAdvisor Product Review Club, I’m not too sure what the retail price is.

Rating:

3 / 10

Would I Buy Again?

No

Rambling Review

All I can say is that unfortunately, this did not hit the mark for me. I have tried other Nair products, one being their Candy Apple Sugar Wax I reviewed through ChickAdvisor as well. I guess I can start this review by saying that I am no expert at hair removal, but I have definitely been around the block and tried many methods (shaving, cold wax, warm wax, etc).

When opening the package, the first thing I noticed was that the wax did not have a top! We were told by ChickAdvisor the reason for this was because Nair is looking to eliminate waste. Good on them for sure, the only concerns I have would be to ensure that the product can’t be tampered with in anyway. A good seal on the box would probably do the job.

The kit comes with a wooden stick, 3 post waxing wipes, the wax, and an instruction booklet. I was very pleasantly surprised that the instruction booklet had a lot of details. It gave lots of tips, tricks, recommendations. It seems a bit overwhelming, but trust me, the more the merrier when it comes to this stuff!

What I also noticed when opening the box was a lack of fabric cloths used to remove the wax! I was quite happy with this, as it removes one more unwanted step of washing the clothes for the next time. This wax is to be applied directly to the skin and then can be removed after it dries for a bit.

I started to notice issues with this product when I began to heat it up. I followed the heating instructions to a T, but after the first heating round, the wax was very very solid still.

I continued to follow the instructions to get a “creamy honey” consistency, but it unfortunately never came. The instructions list that after the first heating round, heat in 10 second increments until desired. I had to do 6 10 second increments (a full extra minute), until I was able to get a some-what workable consistency. The instructions listed that if bubbles appeared at the top, the wax was heated for too long. I do not think I would have been able to get a workable consistency any other way though.

After stirring the wax, I still noticed that the consistency was an issue. It was no where near smooth, but I thought I should just dive right in and try it out. The wax was a bit of a struggle to get a thin layer on the skin. Since the wax came out so thick, the wooden stick did little to help spread it out. After applying and removing the wax in a fast motion, I noticed no hair was removed. After a couple of times, I noticed that actually if I peeled the wax back very slowly, it did remove the hair. This was not the most pleasant of experiences though. What I can equate it to is peeling off a nose pore strip.

I also noticed it was pretty messy. The wax did not come out of the jar on the stick cleanly, but left very long strands which were hard to contain. I can say that once the wax was left to dry, it was very easy to remove from fingers and counter tops.

It’s sad that this product didn’t work out for me. I’ve tried and loved many Nair wax products, but this one did not work out as expected. I wasn’t able to see any noticeable results. One thing I can say is that the smell was quite pleasant. It’s probably one of the nicest smells from a wax product I’ve experienced.

I hope this review was helpful! From looking at the other ChickAdvisor reviews here, it seems that my experience was an anomaly as many people seem to have had good experiences.

I just want to iterate again that I can only speak on my experience! πŸ˜€

Thanks very much for reading, I hope you have a wonderful day!

Follow on Bloglovin

Continue Reading

Review: E2 Elements Squared Hair Care

*Gift/Sent for Review

Hi there! πŸ™‚ This post is a long time coming! Back in December, Whitney from Macarons and Mischief (she is so lovely, please check her out!) held a contest and I won! The prize included a personalized set of Shampoo, Conditioner, and Leave-in Treatment from Elements Squared. After asking E2 if it was okay to talk about their products on my blog, they included a mini set of their shampoos to mix and play around with to create my own shampoo!

Brand Background

Before going into the product, let me expand a bit on the brand. E2 is based in Vancouver, Canada. The company was created after it was seen that the current hair care selection was lacking. Their mission presented on their website is:

Elements Squared Products Inc. aims to enhance natural beauty through our company’s philosophy of using the best natural ingredients to formulate products that are personalized to supplement every client’s needs. Currently we have used this philosophy to develop a revolutionary hair care system that is designed for hair professionals to personalize for you.

The hair care line is to be used by salons which are able to assess your hair situation and then mix  accordingly. In terms of shampoo, there are 5 different bases: Detox Fire, Shiny Metal, Flexible Wood, Volume Earth, and Moisture Water.

Depending on how these bases are mixed, the end result is a personalized hair care solution. Their products are vegan, not tested on animals, gluten free, and pH balanced. See below for the full list.

Reviews

I was able to tell the people at E2 a bit more about my hair and they mixed me up a few special concoctions. πŸ™‚ The main concerns I have about my hair is the frizz. It’s almost come to the point where I’ve accepted it as a fact of life. It’s just always there. So what surprised me the most about this hair care system was that it worked! I have not tried anything that has been able to tame my frizz better. I wouldn’t say it’s 100% gone, but MUCH better than it once was. This is not all these do. It keeps my hair light and cleans very well. You have to shake the bottles before use to ensure that all of the components are evenly distributed which was not an issue at all. I noticed that the shampoo and conditioner were a lot more liquidy then I’m used to. This as well is not an issue.

The mixture I created on my own at home (with some help from E2!) was a clarifying shampoo. I wanted something that cleaned well and removed the oil buildup. I mixed Detox Fire, Moisture Water, and Flexible Wood. I was very impressed with the results! Even though I am by no means a hair expert, I was able to create something that really worked.

After shampooing and conditioning as normal, I was also given a bottle of their Star Treatment

It is a leave-in conditioner that can be used in wet or dry hair. To tell you the truth, since using this hair care system since about late January, I have never needed to use it dry. I use it right after I rinse my hair and it works wonderfully.

One thing I did notice is that all of these products work a bit better if heat is applied. The times I used a hair drier helped leave my hair super smooth, and light.

All in all, I’m so glad that I won Whitney’s contest. I was able to experience one of the best hair care systems I’ve used. The only down side is that since I’m not in Vancouver, I have no access to it anymore. D: It will be very sad when these are empty!!

Hope you have a wonderful day and thanks for reading!

Follow on Bloglovin

Continue Reading

Review: Sephora Instant Nail Polish Remover Wipes

 *Purchased

I’m one of the laziest people when it come to anything. So when I see a product that could potentially save time, I’m all over it. I was introduced to the idea of nail polish remover wipes through the Josie Maran ones that I picked up through Sephora’s Black Friday/ Boxing Day sales. (You can see the wipes here). I will be comparing these wipes to the Josie Maran ones throughout this review.

Overview

They worked mostly, but I would not repurchase.

Price:

$6 CAD for 20 wipes at Sephora. (I actually remember buying mine for around $10. It lists $6 on the website though).

Rating:

 6 / 10

Would I Buy Again?

Nope!

Rambling Review

After trying the Josie Maran ones, I was pretty surprised with these. They are almost the exact opposite. The Josie Maran ones are drenched with oil (almost to the point of grossness) whereas these ones are drying. The very first time I used them I was surprised. After less than a minute after opening the package, the wipe was totally dry. It was quite a weird realization! I was completely unprepared so I had to open up another one. After I learned that they dry up like the desert in t-minus 60 seconds, I was able to use them a lot better. I am able to use 1 wipe for both of my hands. (But that is literally me furiously scrambling to remove the polish! It’s like a race.)

What I can say about these wipes is that they work decently well. I do not have to tug or strain to take the polish off. I have not tried these with glitters though.

Even though these are cheaper, I would much rather use the Josie Maran nail polish remover wipes. They make my hands feel a lot nicer (after rinsing the excess oil off). Even if I’m feeling too cheap for the Josie Maran one’s I guess I could go back to just putting nail polish remover on a cotton pad. πŸ˜‰

Hope that was semi-helpful if you were looking into nail polish remover wipes! Have an awesome day!

Follow on Bloglovin

Continue Reading

My Z Palette + Inglot Eye Shadow Review

*Purchased

Hello, hello! I wanted to start this blog by saying Happy Valentines Day! Even when single, I never understood the hatred that some have for the day. To each their own I guess. I understand that love should be shown all days of the year, but I still like the idea of Valentines Day. πŸ™‚ Maybe I just like holidays in general.

Anyways, I also wanted to say sorry for the lack of posts. In all honesty I’ve just been a combination of busy/lazy (more of the latter). I haven’t been able to read any blogs either! Hope to catch up on my bloglovin’ blog roll eventually as well.

In this post, I will be doing an overview of my Z- palette and a review of 5 Inglot shadows I picked up. If you didn’t see it, I had to return the Tartelette palette (which can be read about here) and decided to build my own palette.

Z- Palette

For those that don’t know what a Z palette is, it’s a cardboard palette where you can hold individual shadows, blushes, etc. It has magnetic properties in the palette which allow the shadows to stick. I researched a lot before buying this one. You can buy many different types of z-palettes online, or other palettes like the MAC and Make Up For Ever ones. I bought this one from Sephora, as seen by the design. The one thing I can comment on is that it was pretty expensive. This was the biggest size that Sephora sells and it was $35 dollars. You can get Z palettes online for cheaper, but I had a gift card for Sephora so it was worth it for me. The kit also comes with de-potting supplies to help you remove products that are already in a palette. I haven’t used them yet so I can’t comment.

In my palette right now, I have my 5 Inglot shadows and a Benefit Coralista blush. My boyfriend got me the Benefit Advent Calendar 2 Christmases ago and it came with sample products like this blush. I didn’t need to de-pot the blush because it came in a cheap plastic cover which I was able to rip (hulk power!).

Overall:

  • Great way to cut down on clutter
  • Easy to see all your shadows in one area
  • I like that it has a clear cover to see in
  • Has more than enough room for my makeup needs
  • A bit on the pricey side compared to online, MAC or MUFE palettes

Inglot Shadows

 330-337-397-344-329

Now on to the review of a couple of shadows I bought. I’m gonna just make these quick bullet points, cause I know you wanna move on with your life and such.

#330

  • A matte beige colour
  • A good lid colour
  • Could be used as a highlight on brow bone or even maybe on cheeks?
  • A bit of fallout noticed


#337

  • A taupey brown colour
  • My least favourite colour
  • Not as opaque as expected
  • Takes a lot to build up
  • Noticed some fallout when swishing my brush around


#397

  • A peachy gold shimmery colour
  • Looks awesome as an overall lid colour
  • Very very pretty on the eye and my favourite shadow of the bunch


#344

  • A purpley taupey brown
  • I like this for a crease colour
  • Could also be used as a very subtle outer corner shadow


#329

  • VERY pigmented
  • I’ve been using this for outer corner
  • A bit hard to blend. If too much shadow is used it can look patchy when blended


Overview

In general, after using these shadows for about a month, I think I’ve gotten a good grasp on which ones I like and which ones I don’t. My favourite is #397 and my least favourite is #337. I would say that overall I am happy with these shadows, but they were a bit over-hyped for me. I think it depends the colour you get as I found that different colours had a different formulation. I would also say that my Urban Decay Naked 3 palette is more blendable than these ones in general. With that said though, I would be interested in trying more of these out!

Thanks so much for reading! Hope you have a wonderful day!

Follow on Bloglovin

Continue Reading

Tartelette Amazonian Clay Matte Eyeshadow Palette- Overview, Swatches, and Dilemma?!

*Purchased

I come to you today with a beautiful release from Tarte…and a dilemma!

I’ll get into the dilemma later in the post though. Today I’ll be talking about the new Tartelette Matte Eyeshadow palette by Tarte. I was able to get a hold of it before it was released on Sephora through the VIB/VIB Rouge early access. I was also able to use my VIB coupon (which I told myself I wouldn’t use, whoops) on this because it was over $50. I bought this online and even with the shipping, tax, and duty, it was less than if I had bought it in store.

I picked this up because I felt that it would fill a void in my makeup collection (how dramatic!). The only large palette I have is the Naked 3 (which I love!) but I don’t have many matte colours at all. When I saw this palette was being released, I just had to jump on it.

The case is gorgeous and substantial. It’s all chrome, which made it a bit hard to photograph.

There are 12 eyeshadows in the palette and all of them are matte. When swatching, each of them felt buttery and easy to blend. I’ve heard from other reviews that if you blend too much it can start to look muddy. I’ve personally only used this palette once so far, so I can’t really atest to those claims.

The photo above is taken with flash and I believe that most of these look pretty true to colour. The photo below is in natural light (where you can see my phone case in the mirror haha).

I know a lot of people had mixed opinions on the names. I personally really love the names of the colours. I think they are very positive and uplifting. πŸ™‚ One thing that hardcore ‘tartelettes’ mentioned about this palette is that Tarte did away with the plastic film with the names on it and instead printed them on the palette. This is my first tarte palette so I really didn’t notice the change. :p

Here are the swatches from the palette, from top left to bottom right:

Free Spirit – Force of Nature – Dreamer – Multi-Tasker
Caregiver – Natural Beauty – Best Friend – Bombshell
Super Mom – Wanderer – Power Player – Fashionista
This ain’t no Urban Decay Vice palette which is what I was looking for. All colours are very wearable and neutral. I would say you could make many many different looks with this one palette. One thing that I was surprised when I received this palette was the size. It’s about the size of a CD case. Here it is in comparison to my Naked 3:

So now the dilemma i’ve been facing. All in all I love the palette. They are all colours I would use thoroughly. The one thing that I noticed with this palette is the smell. I noticed it the first time I used it. The colours smell almost rotten if that makes sense. Just really really nasty. I was so disappointed when I found this out and haven’t used this palette since. :/ I have no idea if this is just the scent of the palette or if I just got a bad one.

The problem is that I can’t find this palette ANYWHERE. I’ve checked 3 Sephoras and no go. I’m hoping I can find one store even with a tester as I can’t even find one with that. Since this palette is so new, there are not many reviews out about it. All the ones I’ve seen though have not mentioned a nasty smell or a scent. What I’m planning to do is try my best to find one so I can see if they all smell like this or if I just got a bad one. If they are all like this, unfortunately that will be a deal breaker and I’ll return it. I’ll update this post when I can find out more!

It really sucks because I was looking forward to this palette and it’s gone unused. πŸ™ Hopefully I just got a bad one and can exchange it for another one.

Even with the few negative thoughts, I hope this post will be helpful to those looking for swatches and such. Thanks for reading! Hope you have an awesome day!

UPDATE: So after visiting / calling like, 6 Sephoras I FINALLY found one that had both a tester and new ones that I could exchange. When I smelt the sample, it didn’t smell at all. Unfortunately though, when I smelt the new one, it was the exact same smell as mine (aka nasty). The associate who was helping me said that since Tarte usually does all natural products, sometimes they can smell ‘off’. Another associate likened it to ‘new car smell’. Sadly it was still a deal breaker for me. It’s one of those things where once you know about it, you can’t go back. :/ From what I saw, I guess when you start to use it, it looses the scent. But I just couldn’t do it. :/ The palette wasn’t cheap, so why would I have something that I would continue to neurotically smell? I ended up returning it to get my money back. I’m planning on creating my own matte palette from Inglot so that should be fun. πŸ™‚ 

Follow on Bloglovin

Continue Reading

Urban Decay Sephora Perk – Mini Review and Swatches

Happy December everyone! I’m so happy that December is finally here even though that means exams. -_-; On the bright side though, I was able to crack into my advent calendars today!

So I thought I would do a post on the Urban Decay 500 point eyeshadow perk. When I first heard of this, I instantly knew I wanted it (along with everyone else I’m sure!). I picked this up the day of the VIB sale which meant Sephora was unbearably busy. I had already done my sale shopping in the morning so it was my second time in Sephora. The associate was super awesome and didn’t make me stand in the enormous line and just let me redeem my points. Without further ado, here is the palette:


So the perk comes with 4 eyeshadows, a liner, and a foil packet sample of their primer potion. I can see why this perk is so popular just because it comes with so much. I only own one of the Naked palettes (Naked 3) so I didn’t have too many UD dupes. I know some people were mentioning that if you have a lot/ all of the Naked palettes, it might not be the best because you’d probably have a lot of colours/ colours that are pretty close. I also have never tried the 24/7 glide on liners so personally for me I thought it would be good redemption.

 I put the box in front of the mirror in the palette, but just imagine a mirror there…

Top: 24/7 Glide On Eye Pencil in Zero
 L-R: Skimp, Bust, Guilt, Oil Slick

The only colour that I could probably dupe in my Naked 3 is Guilt. It’s a rosy pink shade which is pretty much the whole Naked 3 palette.

I’ve used this once so far and I really like it! It didn’t show up too well in the swatch but Oilslick has a LOT of glitter in it so it’s a bit hard to wear I thought. Maybe I will try using it as a liner. πŸ™‚

Not sure if this is still available as I never actually saw it online. I’m so glad I picked this up when I could as it seems like a really good bang for your point buck.

Hope you have a wonderful day!

Follow on Bloglovin

Continue Reading

NARS Tech Fashion Lip Gloss Set: Mini Review and Swatches

Hi there! I should probably either be sleeping or studying or a combination of the two. Instead though, I thought I would do a blog post!

I recently got a completely awesome gift from my friend. The NARS Tech Fashion lip gloss set! I was definitely seeing stars when I saw it. *u* I don’t believe this is sold at Sephora which I was surprised about. You can get it from NARS counters though. They retail for about $40 bucks on the website. Seems steep, but not really for NARS I guess.

I thought I would do a mini review and a swatch set of these glosses.

L-R: Shade 1, Shade 2, Shade 3, Shade 4

The first funny thing I noticed were the completely unoriginal names. Cause you know, that really looks like a ‘shade 1’ sorta colour… Here are the descriptions on the NARS website:

Shade 1: Shimmering peach sorbet
Shade 2: Shimmering sheer fig
Shade 3: Shimmering sheer raspberry
Shade 4: Sheer ruby

I took 2 different pictures. Both are in natural light, but I think the first one came out truer to colour than the second one. I do think that the second one shows a bit clearer the different between Shade 1 and Shade 2.

I have only had these glosses for a bit so that’s why I didn’t want to do a full review. Shade 4 is my favourite of the set. Awesome pigmentation and looks so pretty on the lips with not as much glitter as the others. I would say that the colour in the tube is not the true colour on lips. That could be good and bad I guess. I’m glad that Shade 2 isn’t true to the tube though, as that would be way too brown!

Overall I think these are very good lip glosses. I noticed that for the lighter colours after fading for a couple hours, the colour would disappear but the glitter remained. It looks a little funky, but nothing a reapplication didn’t fix. Something else I really liked about these glosses was that they were very hydrating. I wouldn’t use them in place of a balm, but I think they do pretty well to soften the lips.

Anyhoo there we go! Hope you enjoyed it, have a great day!

Follow on Bloglovin

Continue Reading